(sarcasm warning) Due to a recent massive surge of interest in the blog and the sheer terror of somebody actually reading it (yes, I’m looking at you Ola and Gosia), here we go with a rather pointless post – a quick autops… I mean, precise dissection of a 3D printer – Tiertime / PP3DP Up Plus 2. Or, at least, a glorified photo shoot.
First of all, some information about the following printer:

This is a classic cartesian-style printer bought more than 3 years ago. Main advantage? You plug in the USB and start printing, I’m serious. It’s a little dated as of today standards (or so I thought before this picture session) but so far has not failed me … I may have failed it by touching the main heated bed while being loaded with electrostatic charge big enough to fry a small potato, damaging the main microcontroller, sending it on warranty, it getting lost during the warranty service (the guy responsible for handling my warranty claim got fired in the meantime), being sent back to me in a simple box and getting slightly HAMMERED AROUND IN A FRIGGIN FEDEX TRUCK, but nope, the printer has not failed me so far.
Dimensions of the print? Max usable area is about 14cm x 14cm, I tried printg up the edge but my print literally melted down the printer. True story.
One of the first example prints I made: (click for bigger size… of photos, the print is tiny)
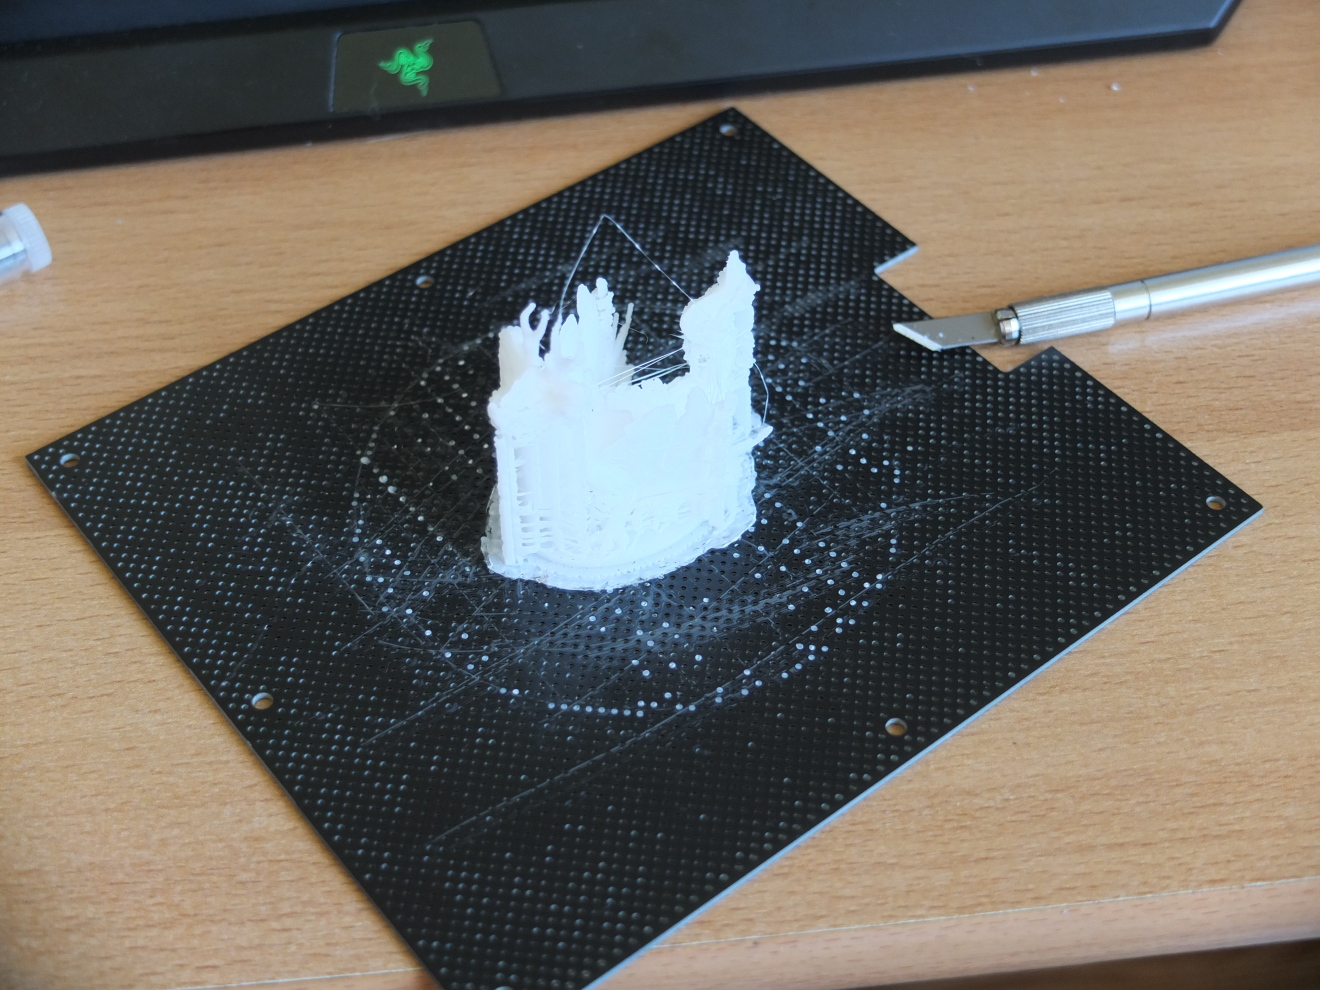
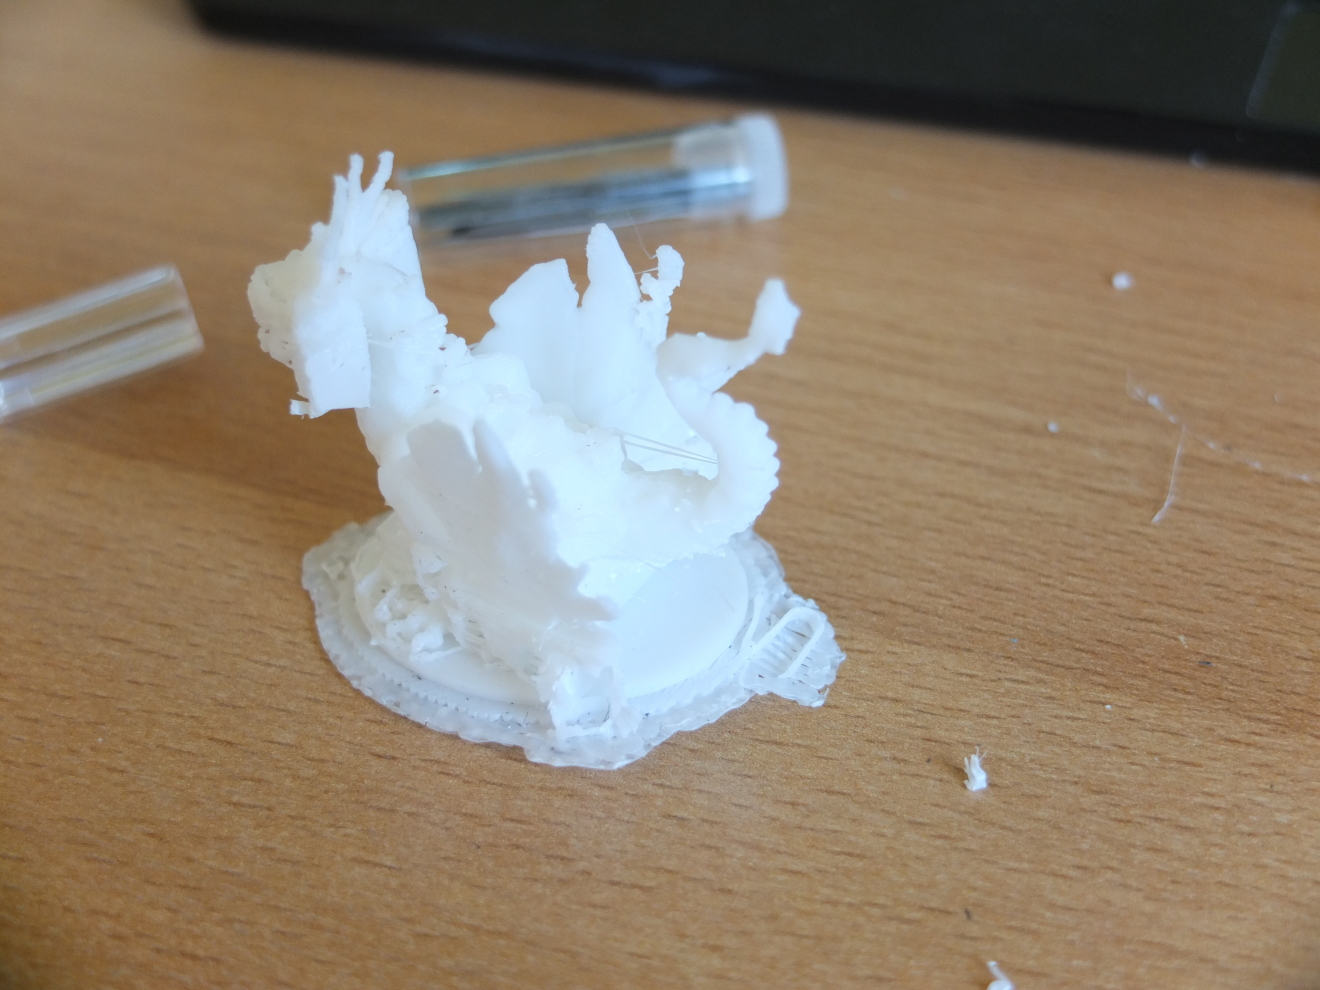
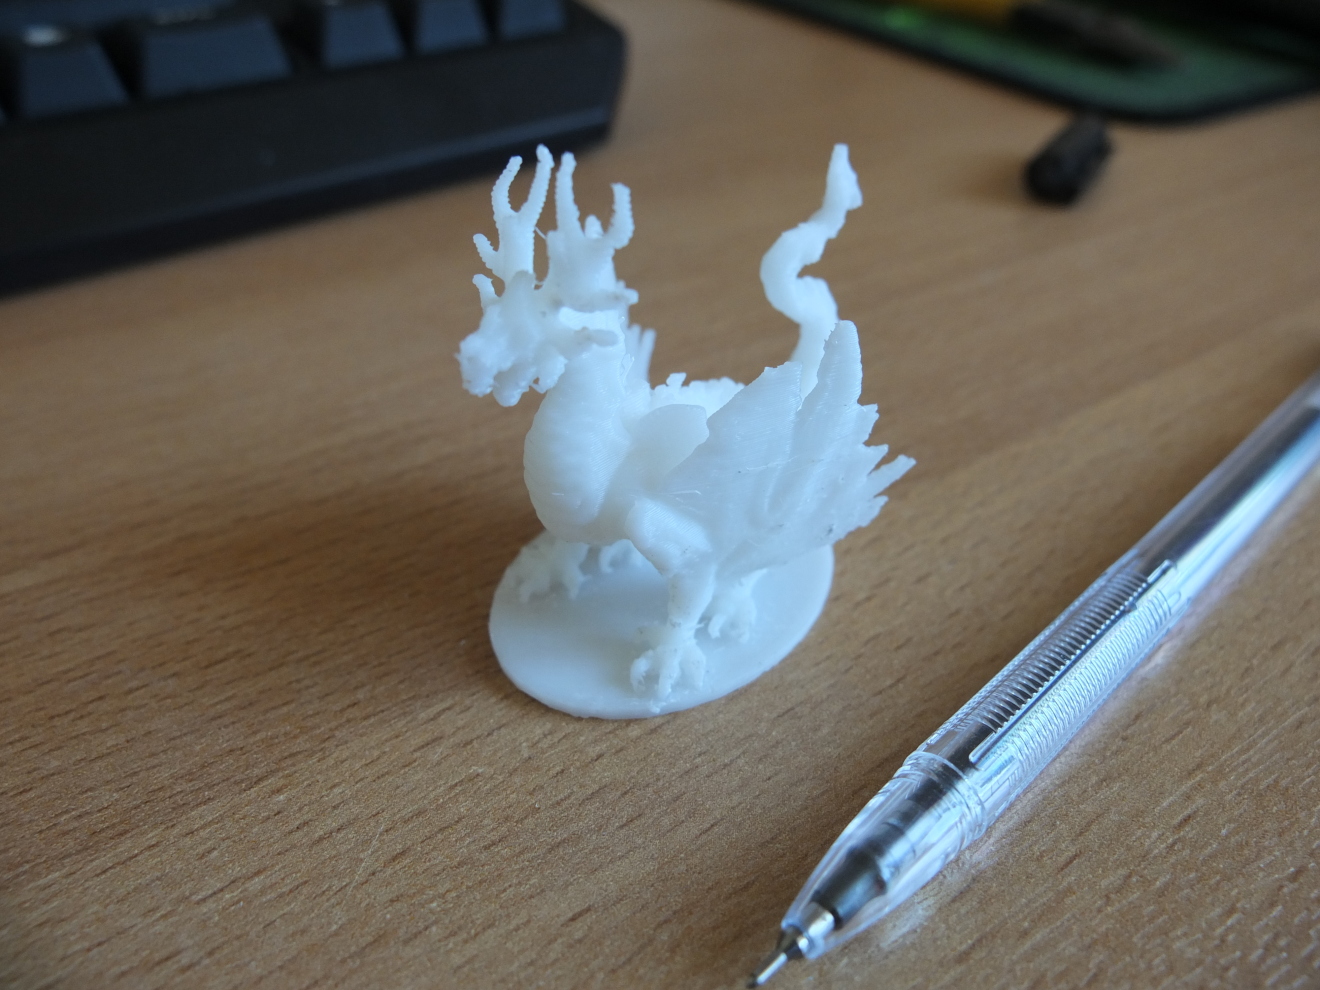

And I have printer most of the parts for my Kossel printer on it (printing printer on a printer = printerception).
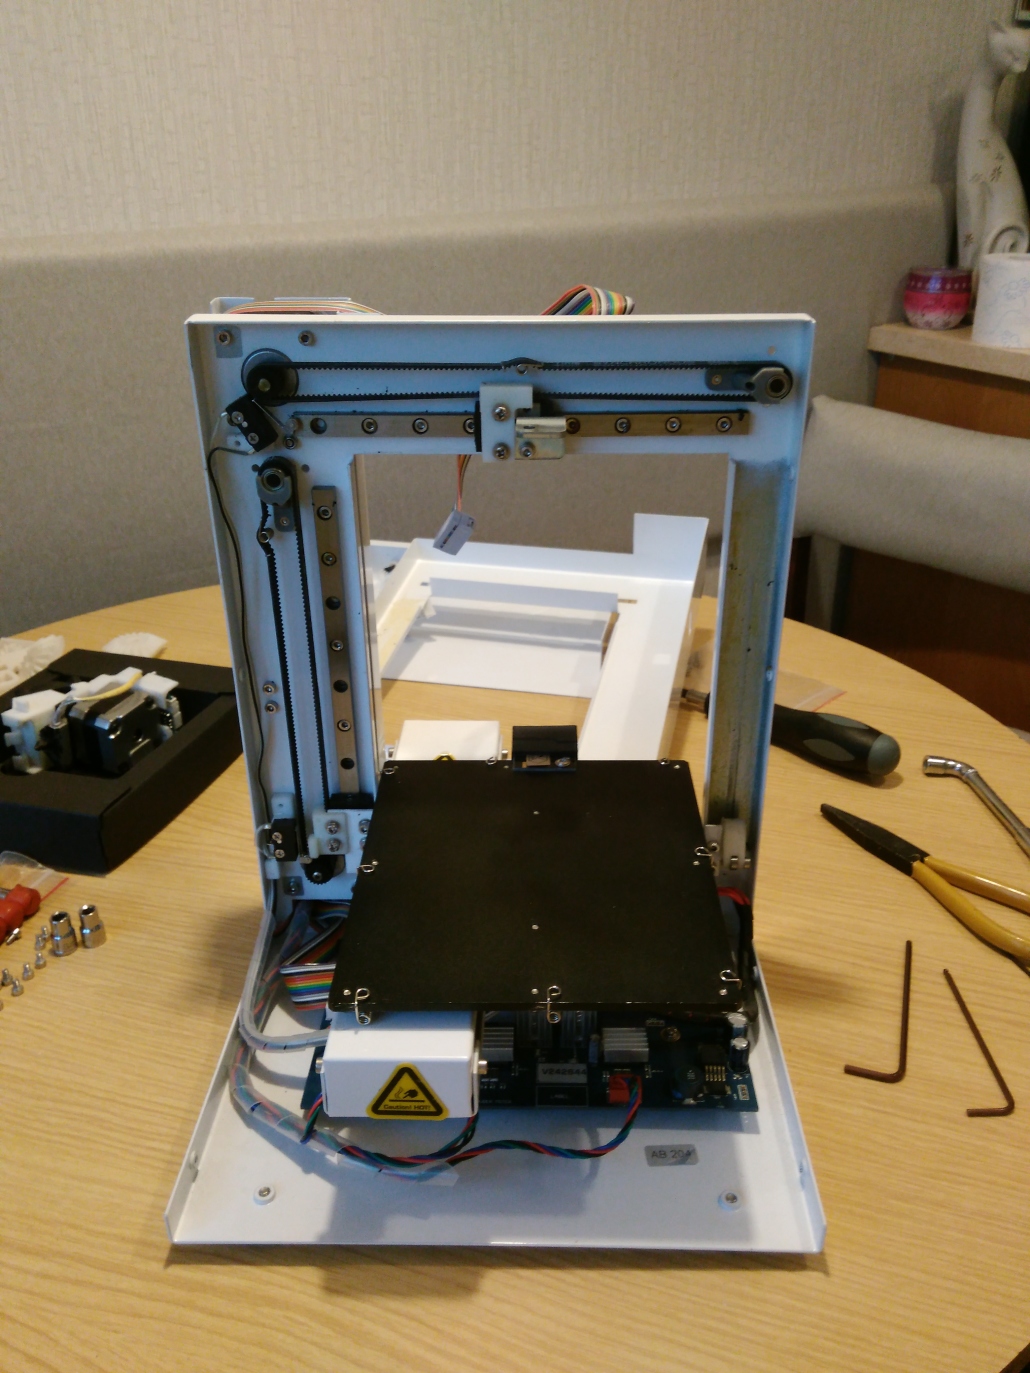
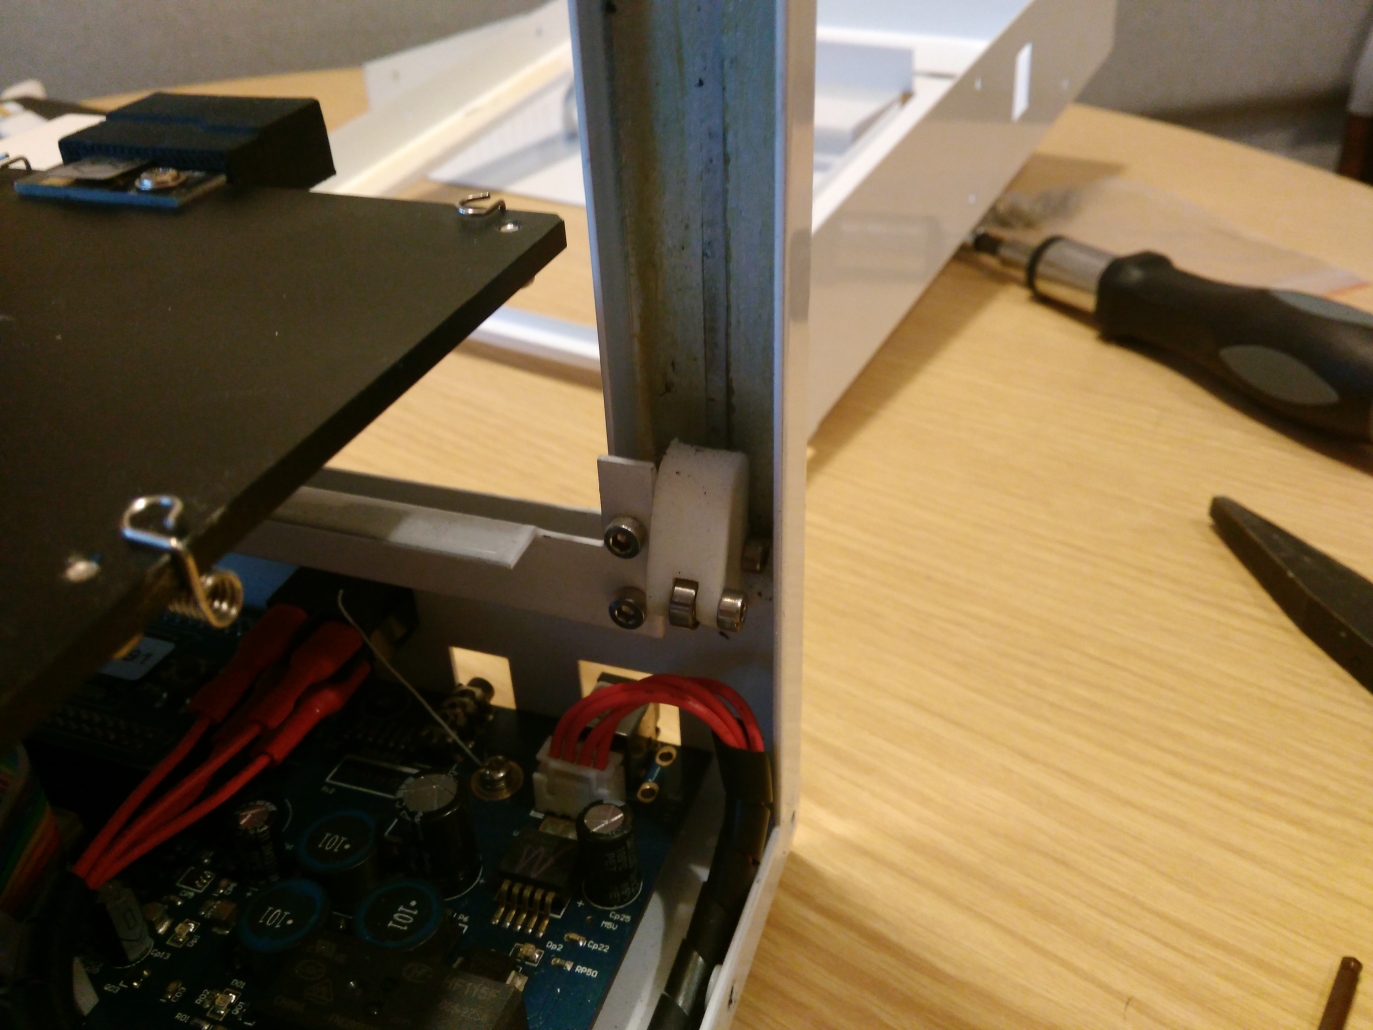
So what happens when you peel the main chassis off? (sorry for the images being taken by a toaster, I didn’t mean them to end in the internet)

The whole structure is essentially mounted on a single steel frame. You can already clearly see two guiding rails – the horizontal axis on which the main extruder will move and the vertical z-axis. The third one is hidden inside, under the heated bed. We can already see the timing belt with a locking spring on the top part of it:
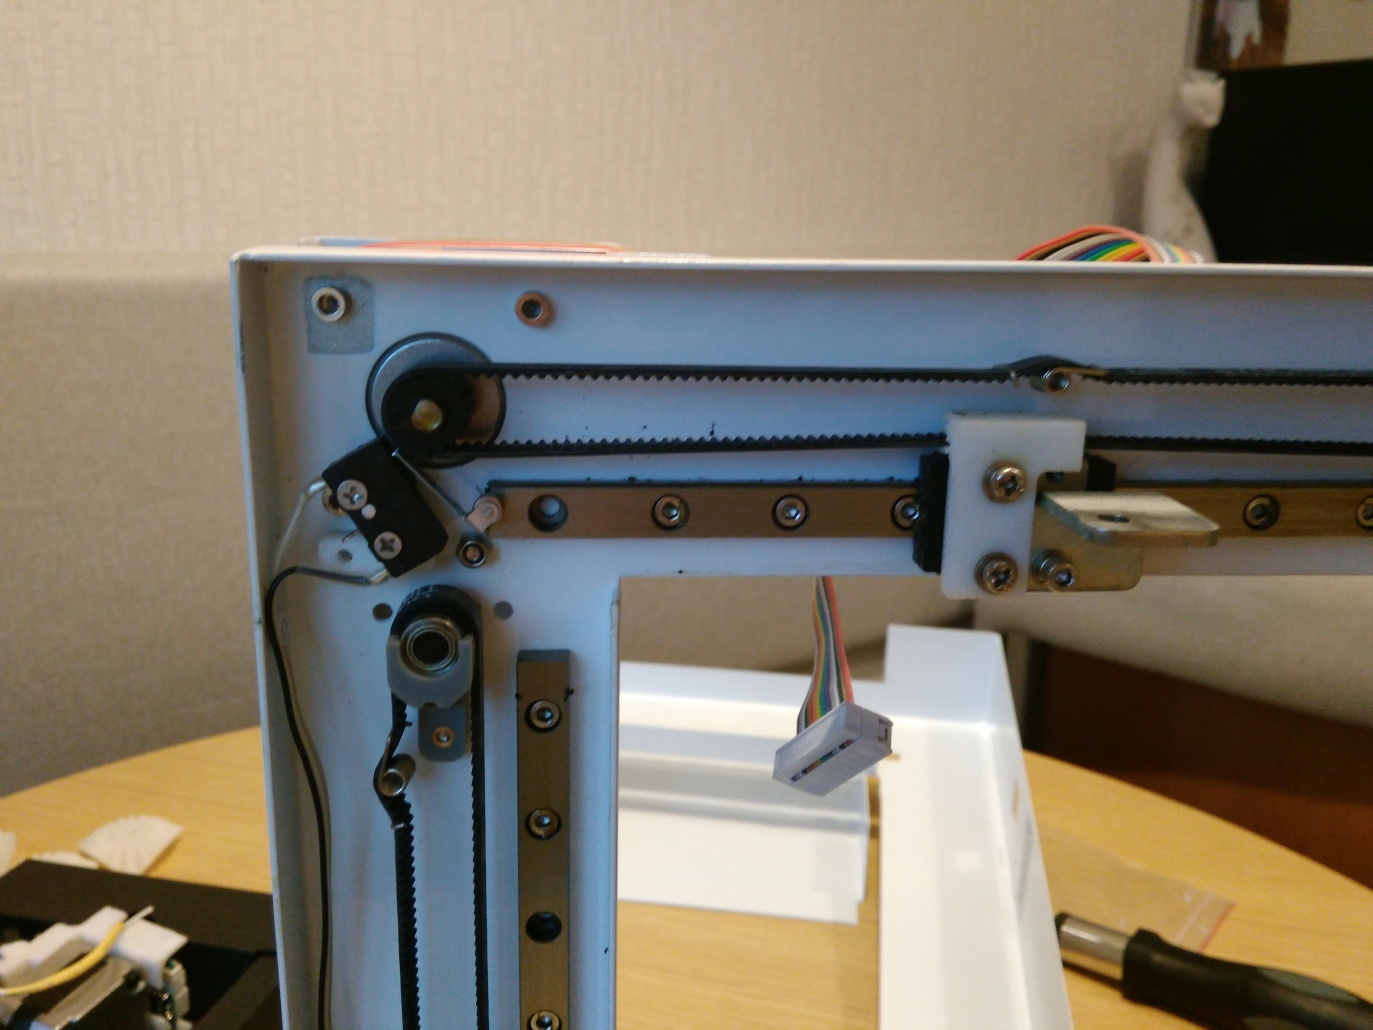
The endswitch is mounted at the angle, that’s curious. The timing belt pulley on the Nema17 motor has no edges, so I am a little worried about the belt, well, sliding off of it. But it’s been 3 years already… Anyway, the other side looks nicely too:
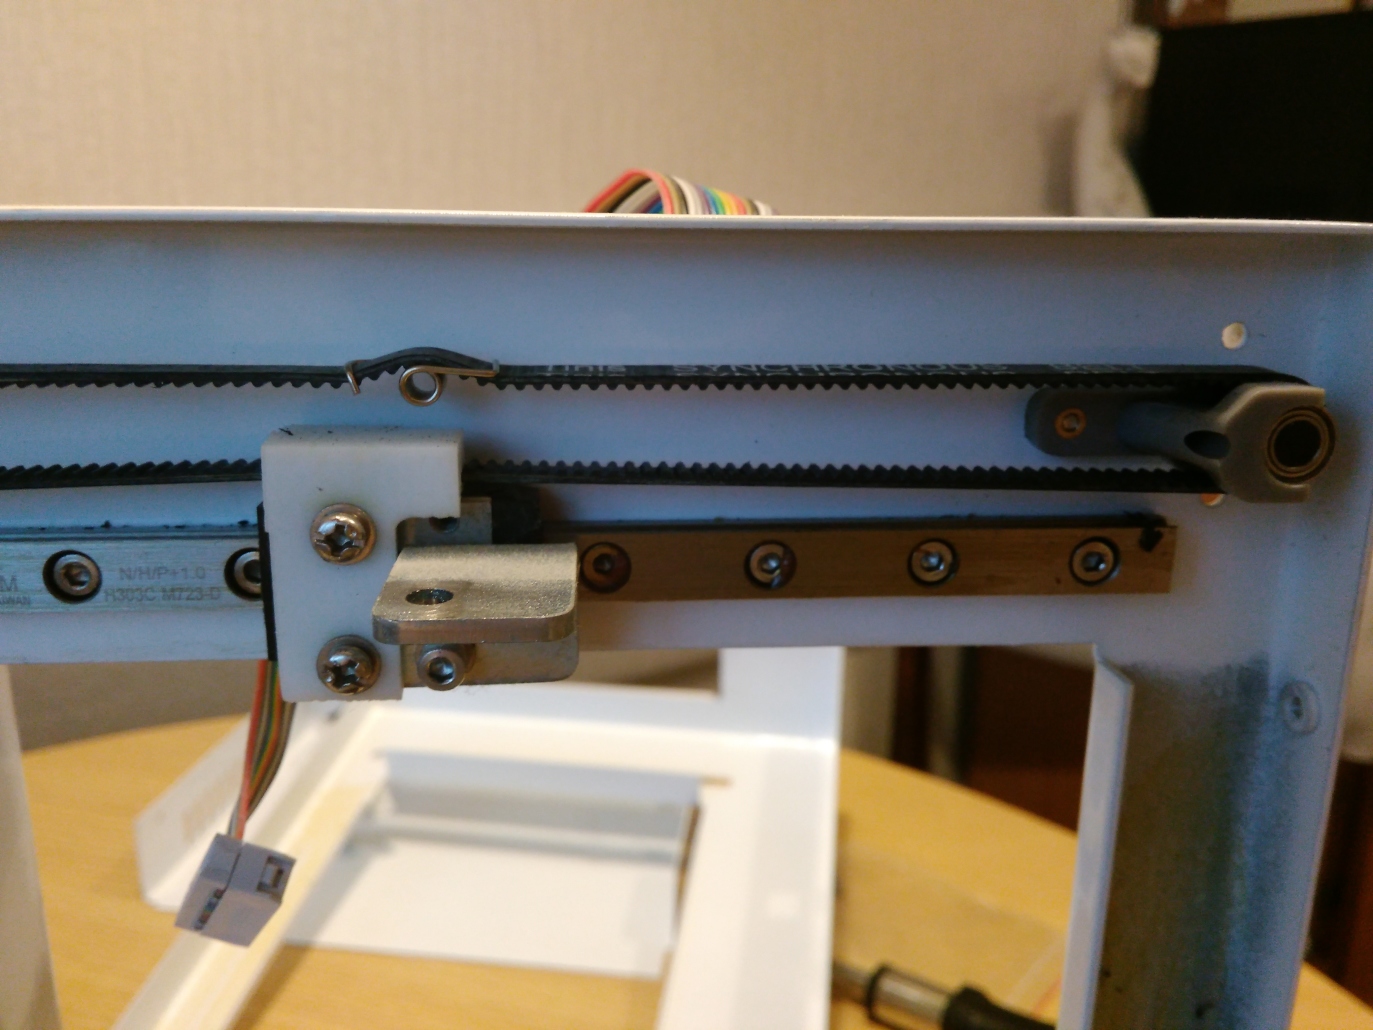
So the idler is a set of bearings with a gear in a dedicated plastic bracket. Also, here is a better look at the extruder mount – a SINGLE screw. Well, they are right after all, f*** the in-plane alignment of the hotend, all it is doing is placing a dot, so as long as it is calibrated it does not matter is it is at angle. At least the y-axis and the heated bed get the two screws:
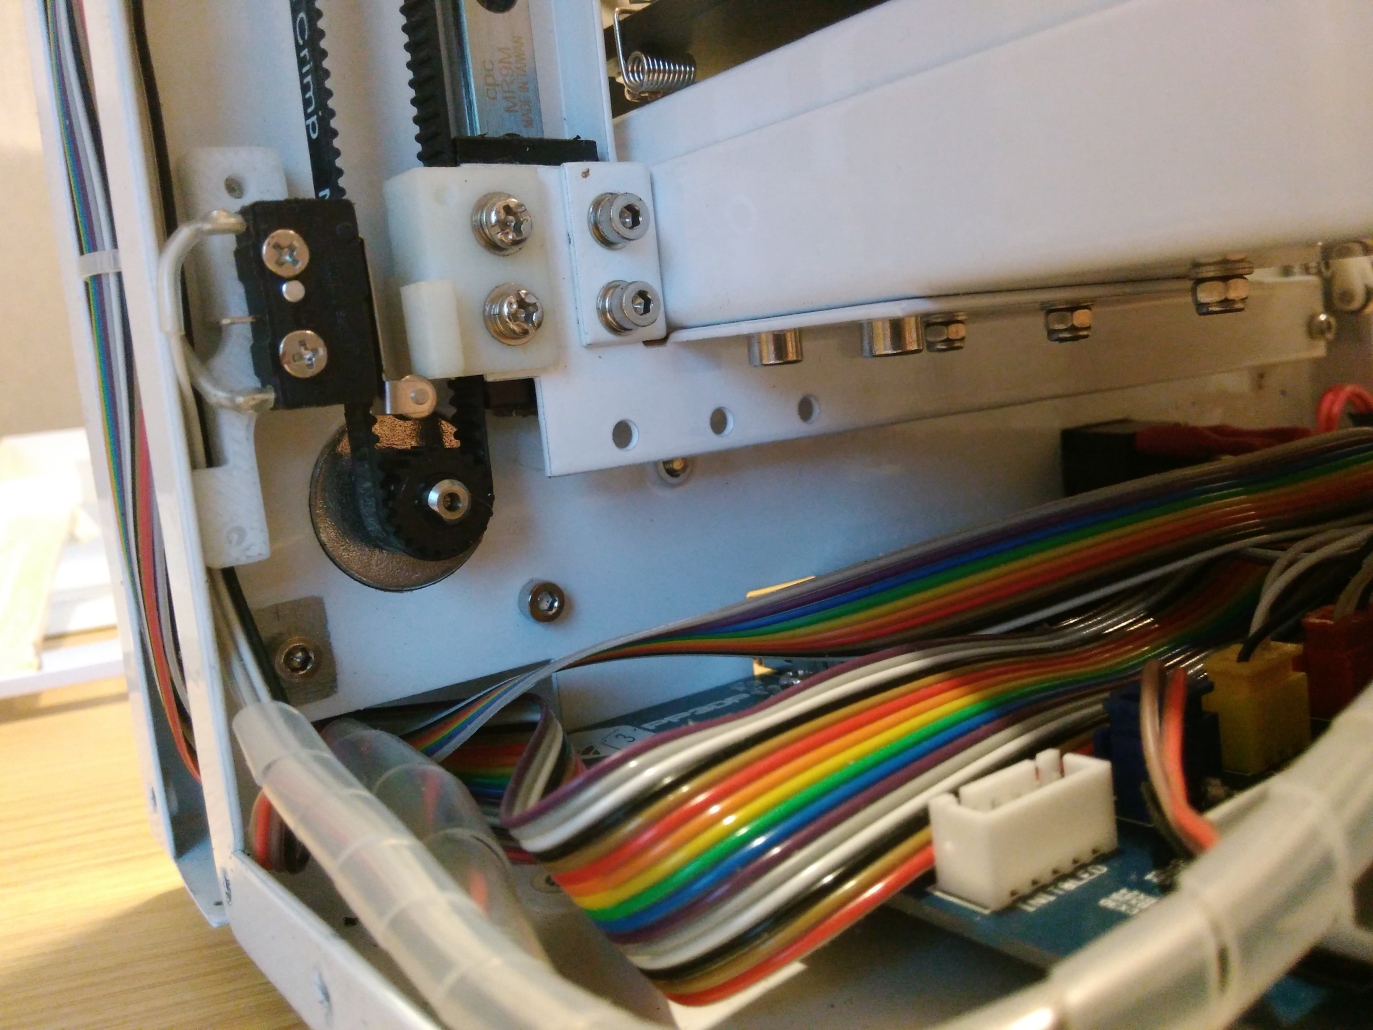
Nothing interesting here, just a linear rail with lots of nice steel elements and an endstop switch. The better part awaits on the other side:
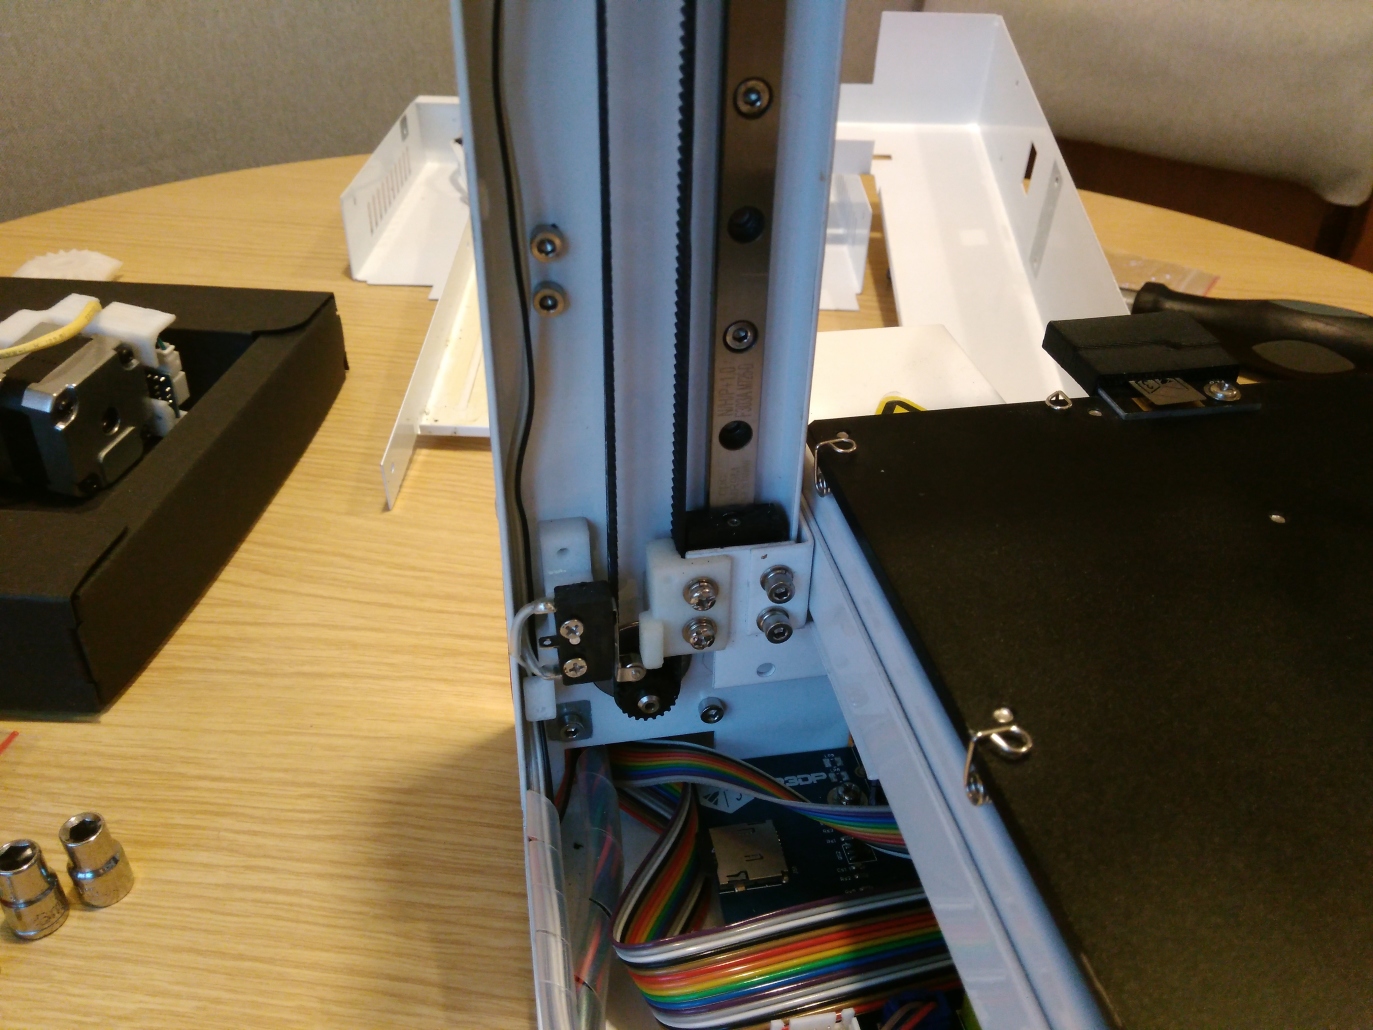
Because there is no rail of any sort here – everything slides on those tiny bearing sandwiched between two steel frames.

Also, a slight zoom-in on the idler system – maybe the gear between the two little bearings will be more visible:
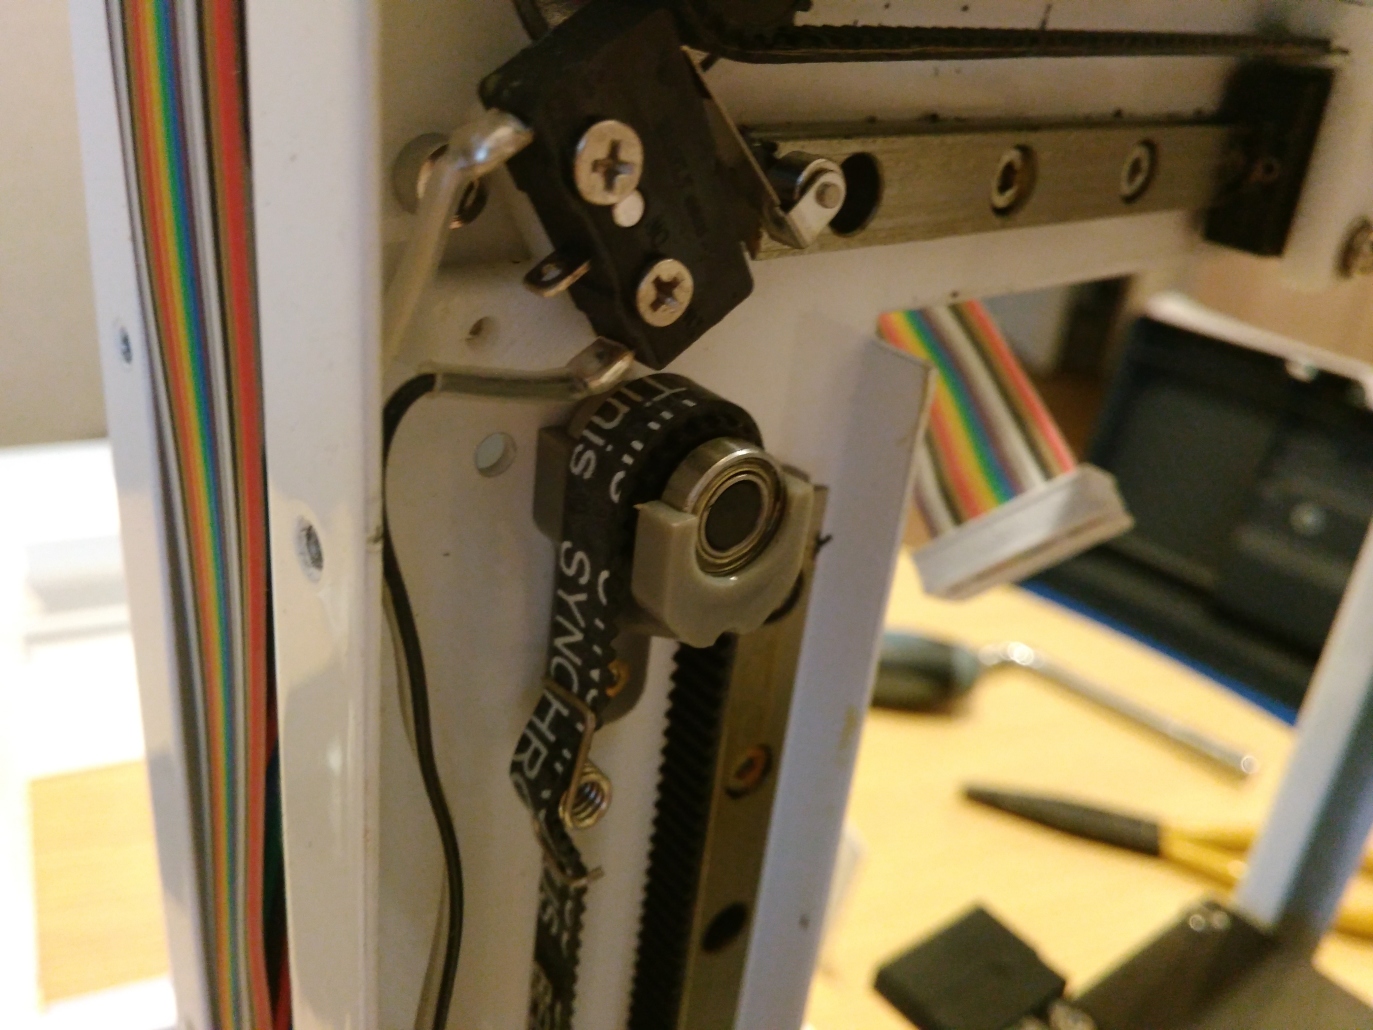
Before you ask – no, the plastic part is molded I suppose, it’s not a 3D print. Generally, I didn’t spot 3D printed elements in the most crucial places, only things like endstop triggers, little holders and so on.
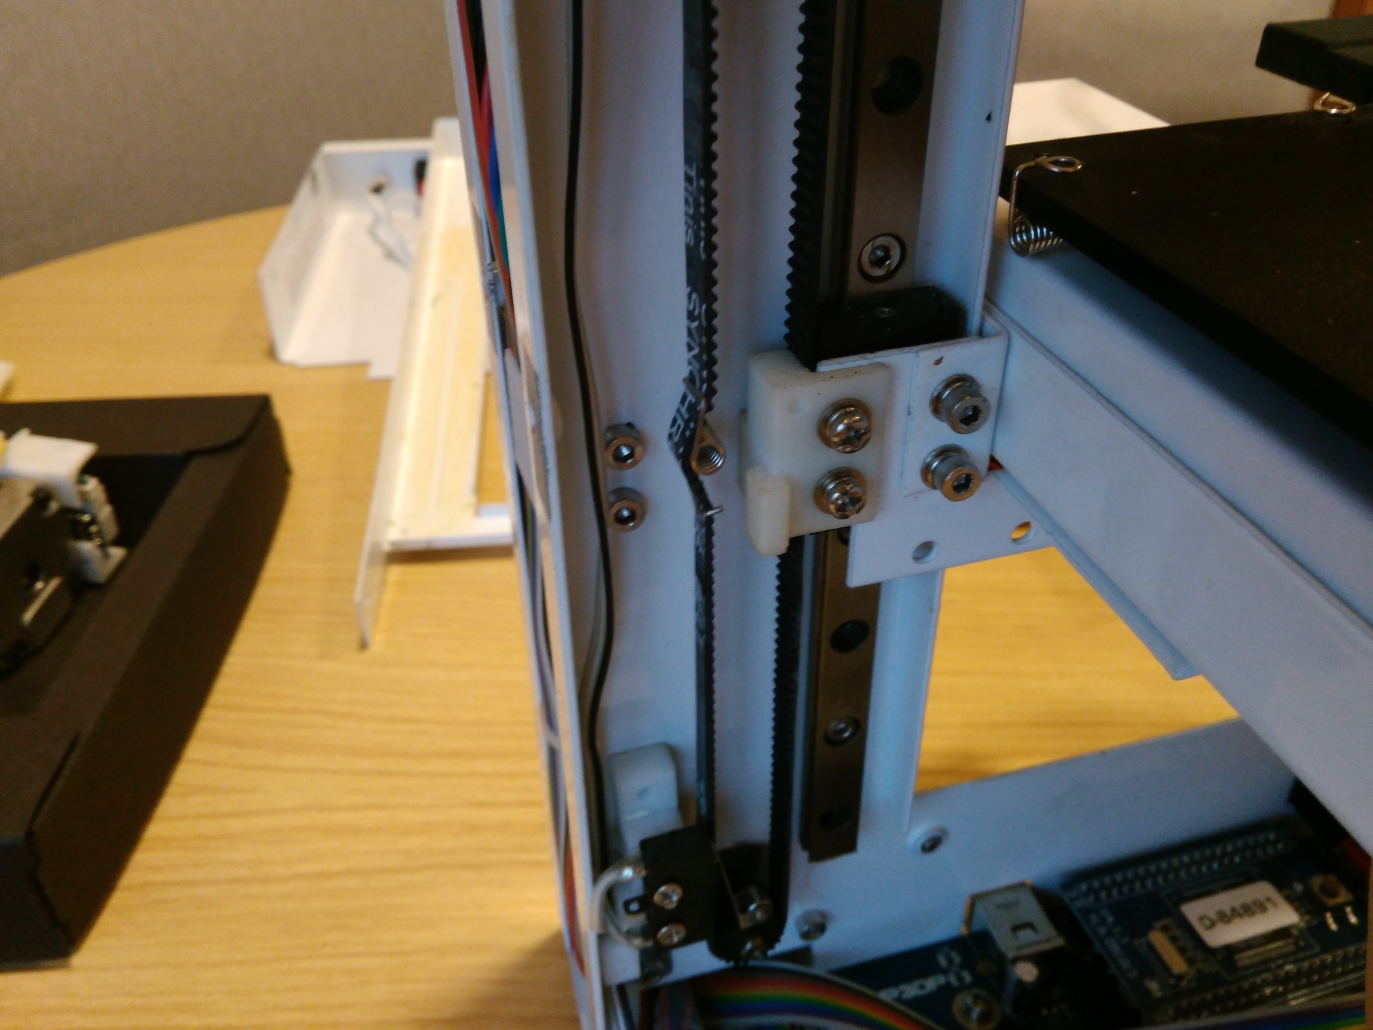
Let’s take a look at the linear guides:
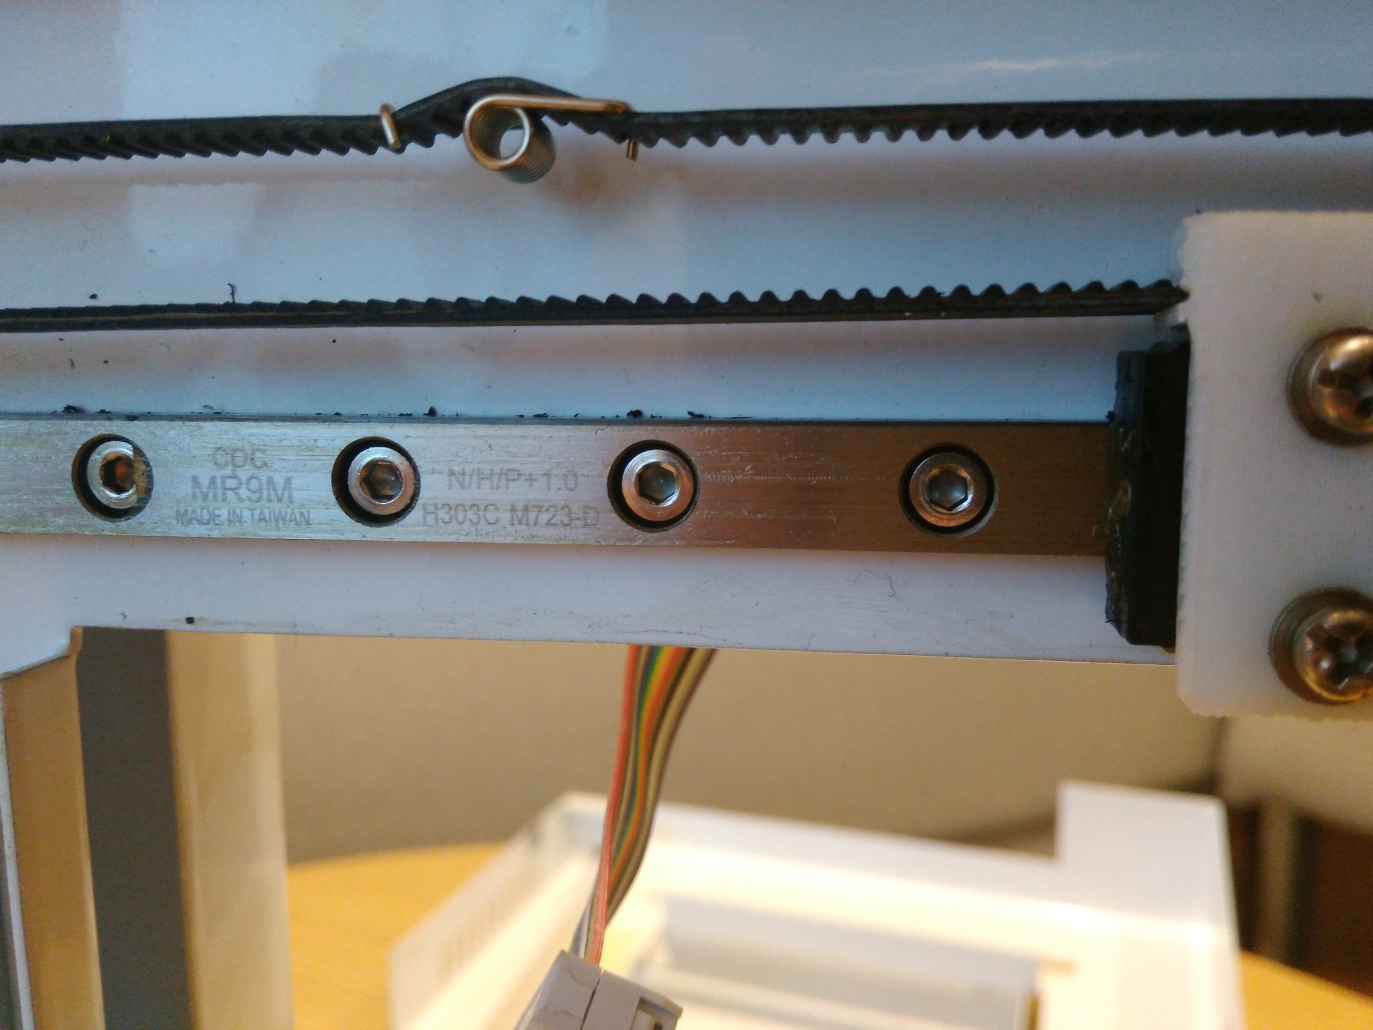
What in the name of the unholy tortoise shell? This is NOT a cheap Hiwin knock-off with square bearing balls (yes, I own three of those straight from aliexpress, never again), this is something genuine. Chieftec Precision makes linear guides of all sorts, the official catalog for the miniature MR series can be found here:
So that explaines why it moves so easily as compared to other printers I witnessed. Timing belts are pretty much standard (pre-made loops):

Electronics and more detailed pictures of the printer will come in a second part.
Btw. do you also think that releasing the printer initially under the brand PP3DP, instead of Tiertime, was just in case it turned out to be horrible? And after it got fantastic reviews, getting back to Tiertime name? Hmmm…
We have the same printer and we have problems where the belt has lost some teeth in the last few weeks and need to replace the x-axis belt for the heat bed. Any idea where we can find such a belt?
read the markings on the belt that end with “something-2gt” – for example the z-axis was 430-2gt (430mm gt2 type belt), so after quick google I think this would fit the z-axis https://www.amazon.com/2GT-Timing-Belt-Closed-Loop/dp/B01G16YGLK, but this is a cheap one, Gates belts are better and more expensive
I don’t have the printer with me today, will check tomorrow what’s the proper size for the x-axis